Adding the In-App Inbox element to your Tooljet app
Overview
To integrate engagespot to our tooljet app, we have to complete 3 steps.
Let's go over each step in detail.
Adding HTML
Go to the Components section, which is located on the right side of the dashboard and look for an element called HTML Viewer. Just drag and drop it to your app where you want the bell icon to appear.
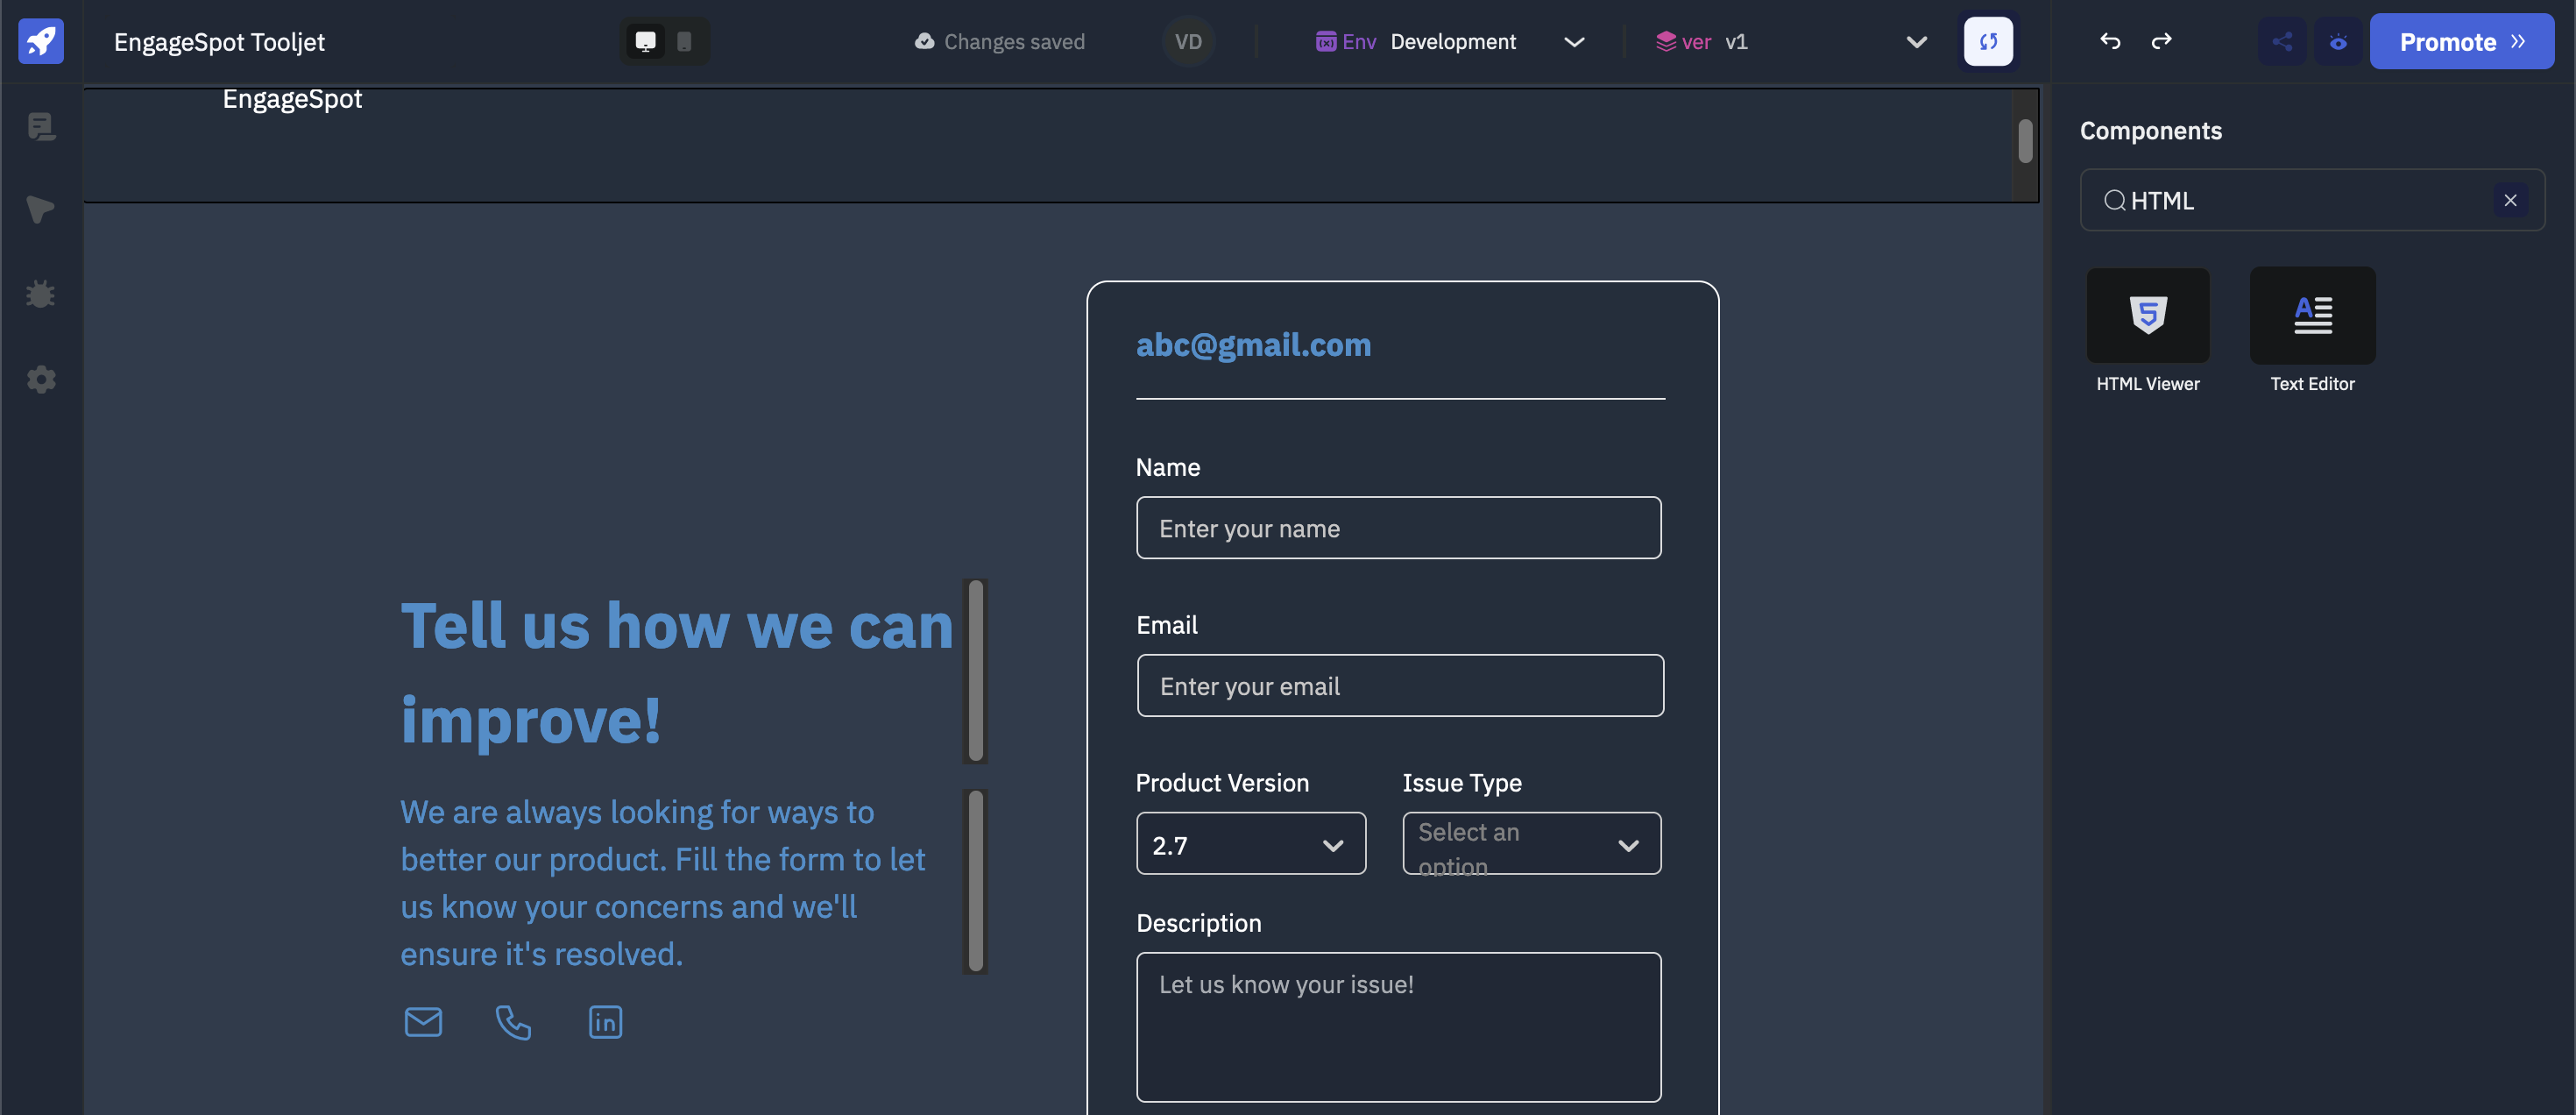
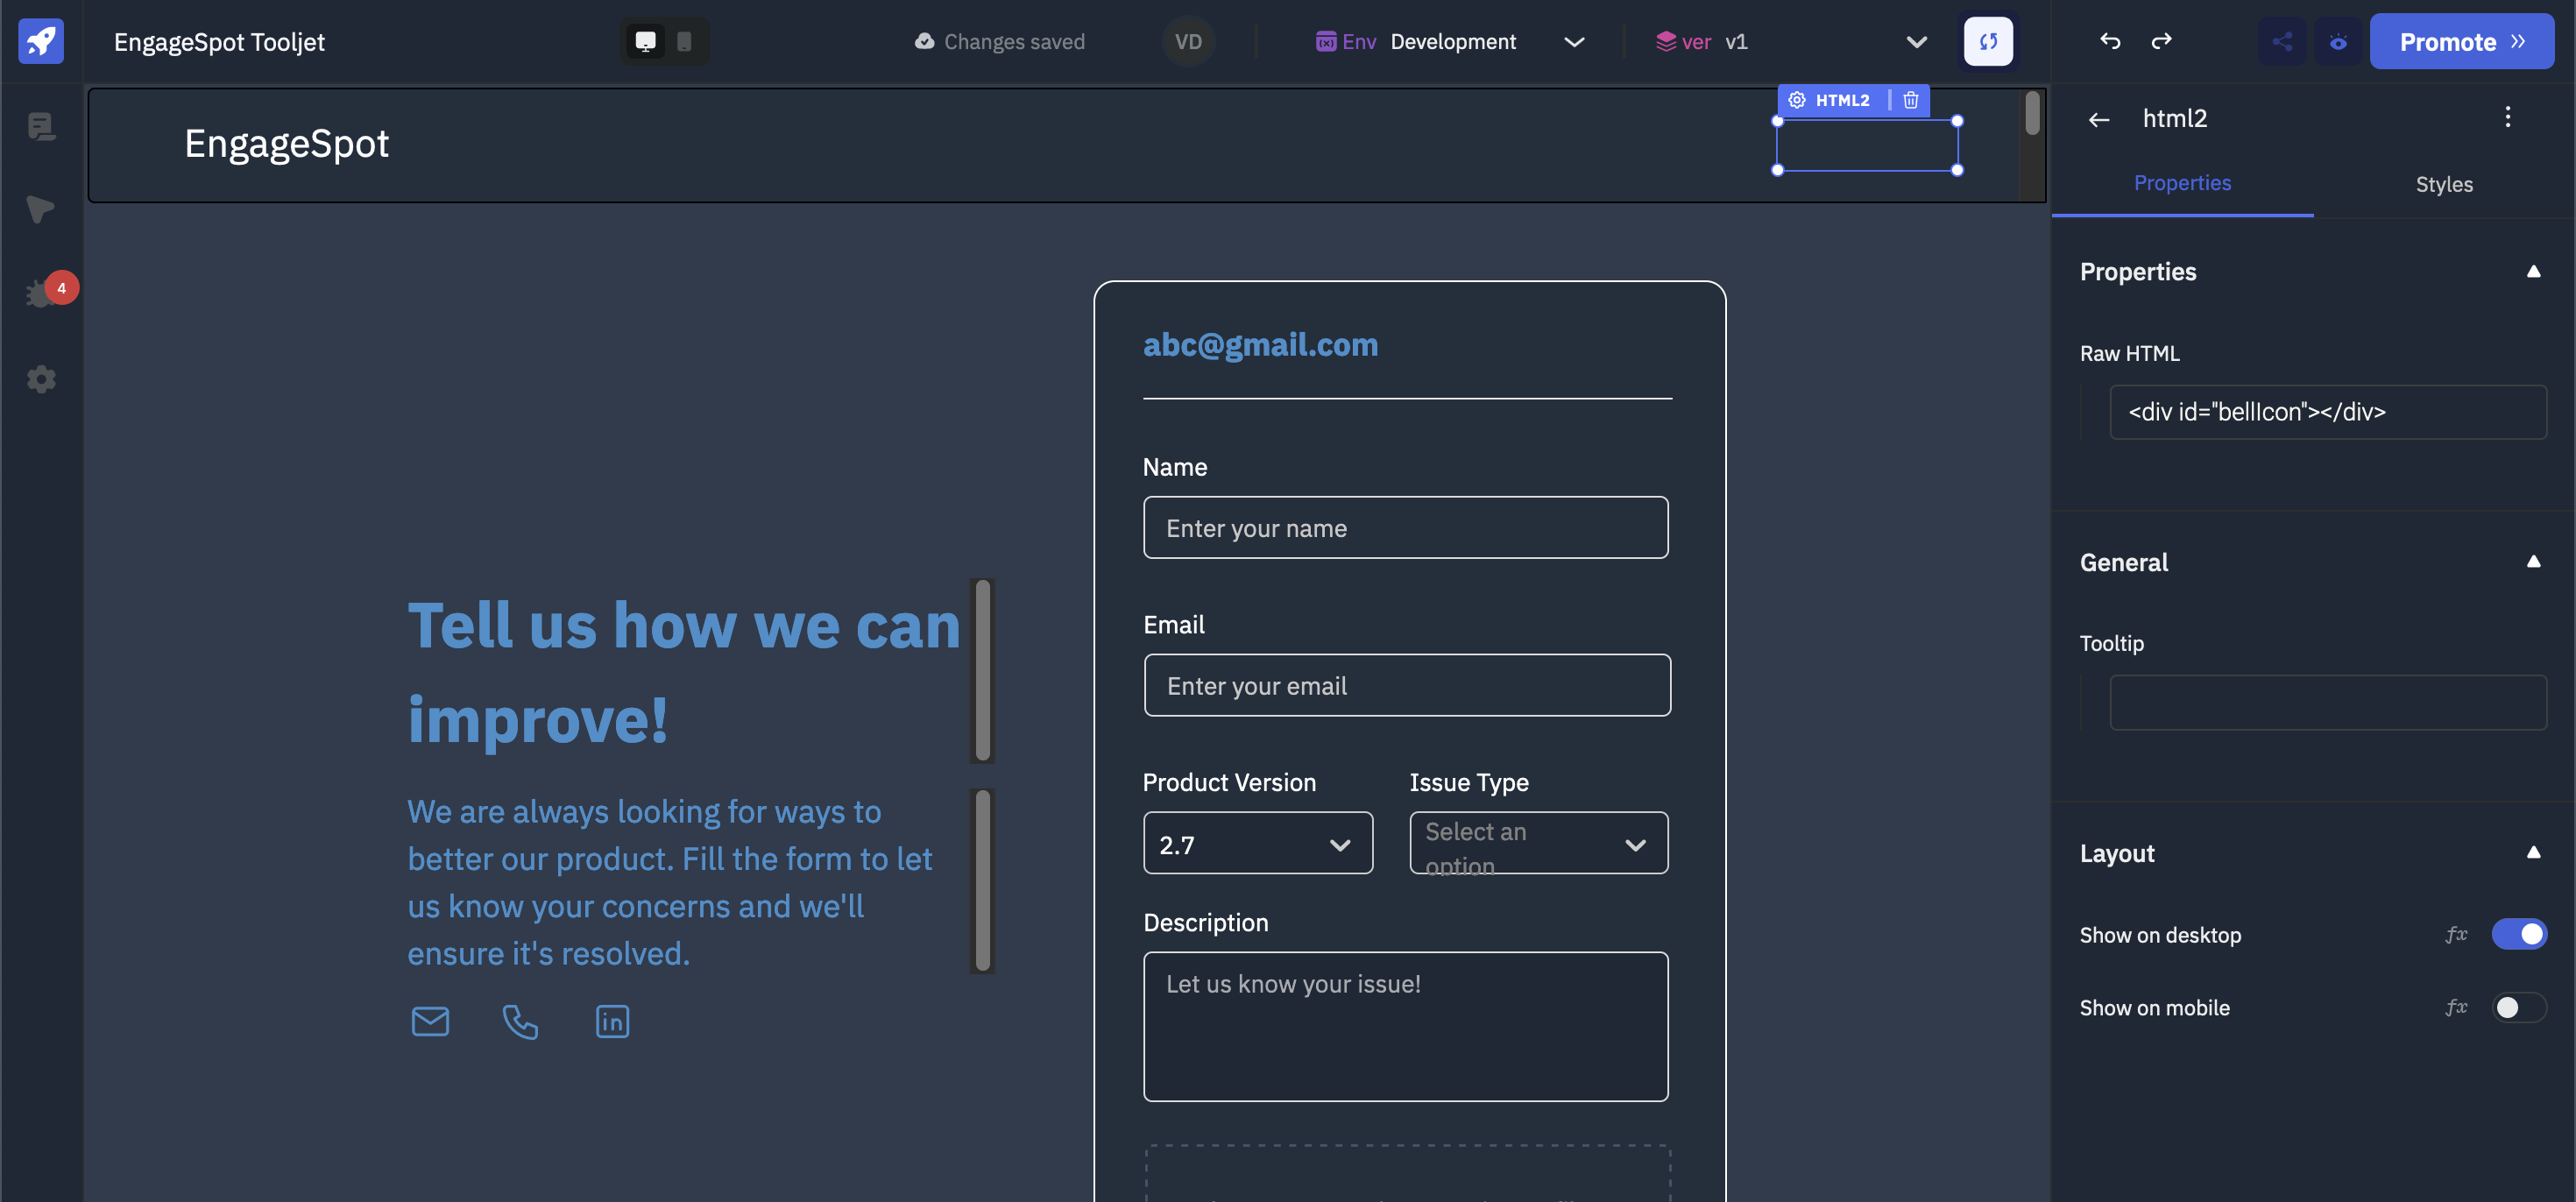
After draging it to an area you want , replace the Raw HTML with the code below.
<div id="bellIcon"></div>
Adding Javascript
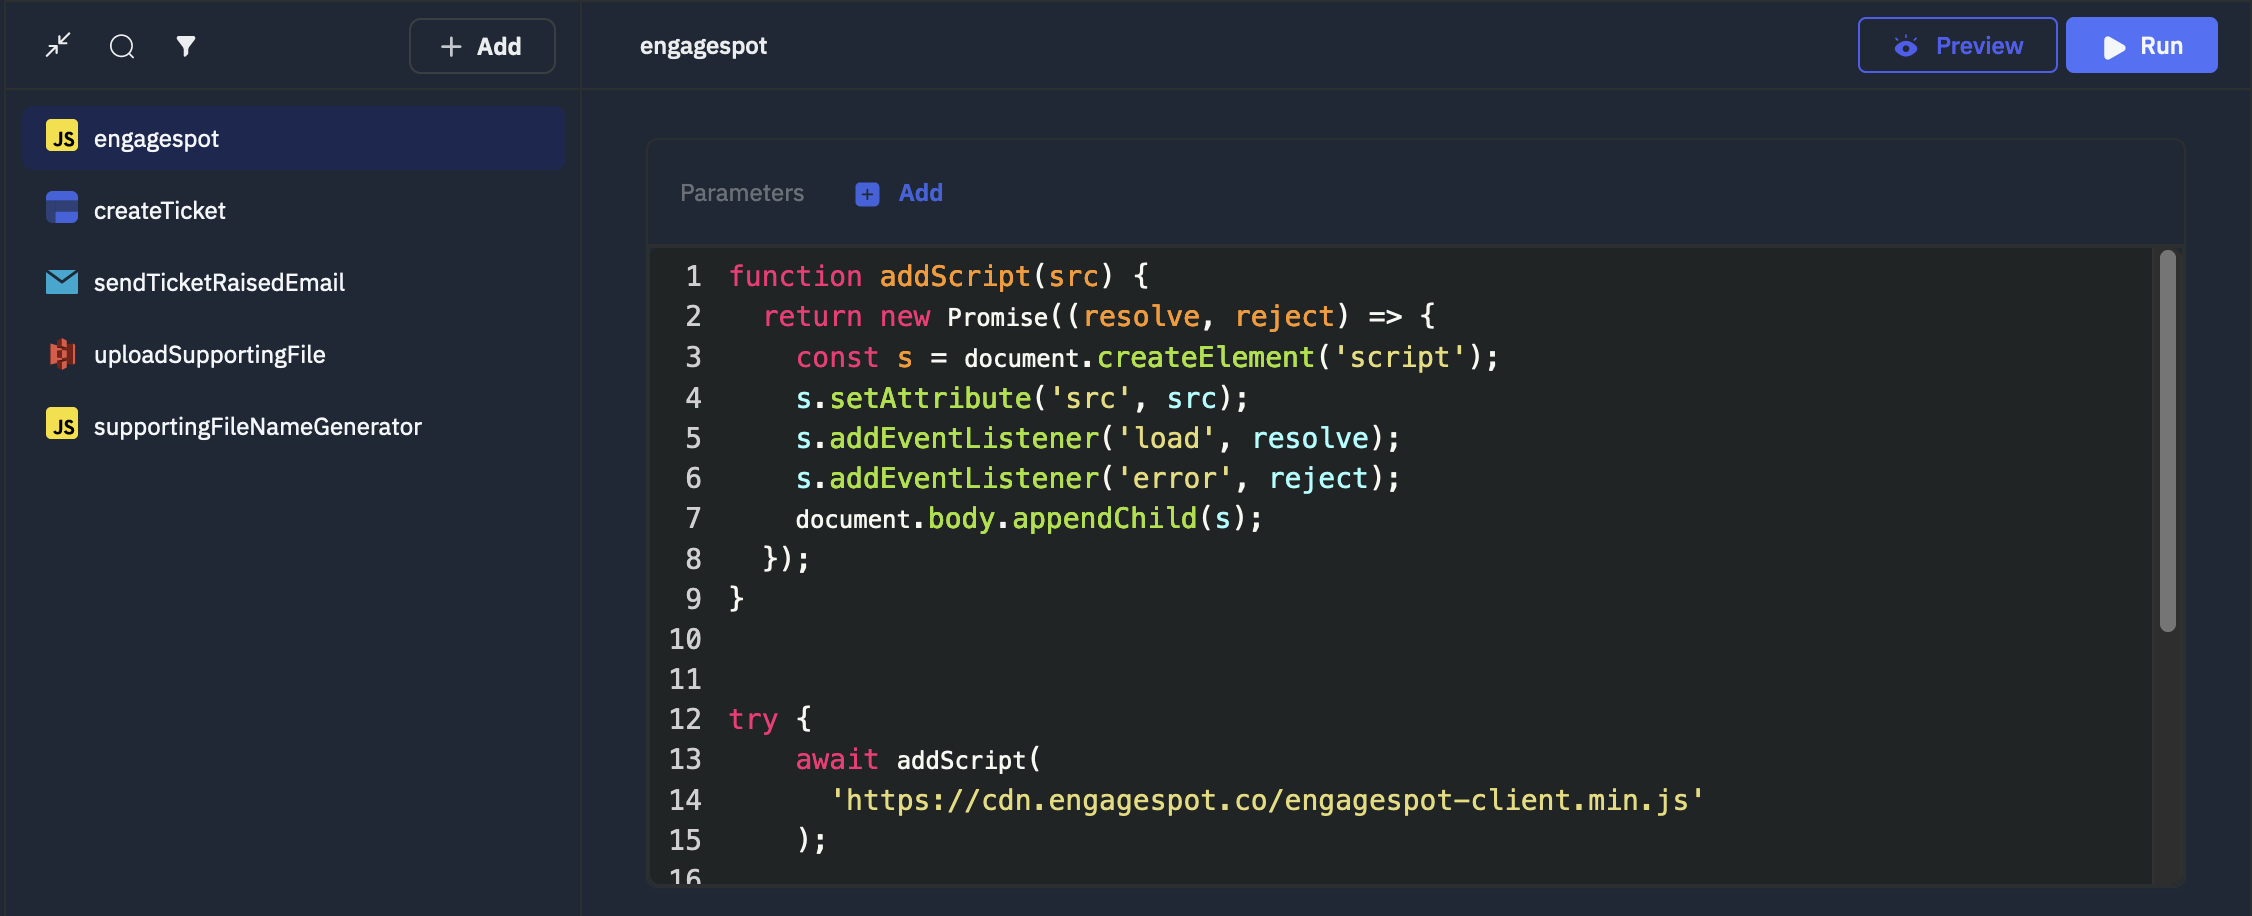
Click the Query Manager button, which is located at the bottom left of the dashboard. Clicking on it will open up the query panel.
From the panel, click on the + Add button. and select Run Javascript code.

Name it as engagespot(we will need this name to identify this code later), and copy the code below and paste it in the javascript editor.
function addScript(src, id) {
  if (document.getElementById(id) === null) {
    return new Promise((resolve, reject) => {
      const s = document.createElement('script');
      s.setAttribute('src', src);
      s.addEventListener('load', resolve);
      s.addEventListener('error', reject);
      s.setAttribute('id', id);
      document.body.appendChild(s);
    });
  }
}

try {
  await addScript(
    'https://cdn.engagespot.com/in-app-inbox-v1.x.min.js',
    'engagespot_script',
  );

  Engagespot.render('#bellIcon', {
    apiKey: 'ENGAGESPOT_API_KEY',
    userId: 'unique-id-of-your-user',
    theme: {},
  });
} catch (e) {
  console.log(e);
}
Make sure to replace ENGAGESPOT_API_KEY with your API Key given in your dashboard. Do not confuse API_KEY with API_SECRET. They have different permission levels. You should never expose your API_SECRET in front-end apps.
userId should be any value to uniquely identify your app's users. For example, their email id, username, UUID or the primary key from your users table.
Dynamic User Id
If your app has multiple users and a login process, then you can store the unique userId value in a tooljet variable during login process, which can then be directly accessed in tooljet code. See tooljet documentation for more info on variables.
Example :
Engagespot.render('#bellIcon', {
  apiKey: 'ENGAGESPOT_API_KEY',
  userId: variables.userId,
  theme: {},
});
Initialize EngageSpot on page load
We have already created the necessary HTML and JS for engagespot to run, now we need to make sure the js code gets injected into the html on page load.
Select Pages from the left toolbar. From here we can we see all the pages that we have created. Select the page you have added the html to and click on the three dots to open up the settings, from there select the Event Handlers.

Adding the event handlers
We need to specify that on page load, the js code created earlier should run.
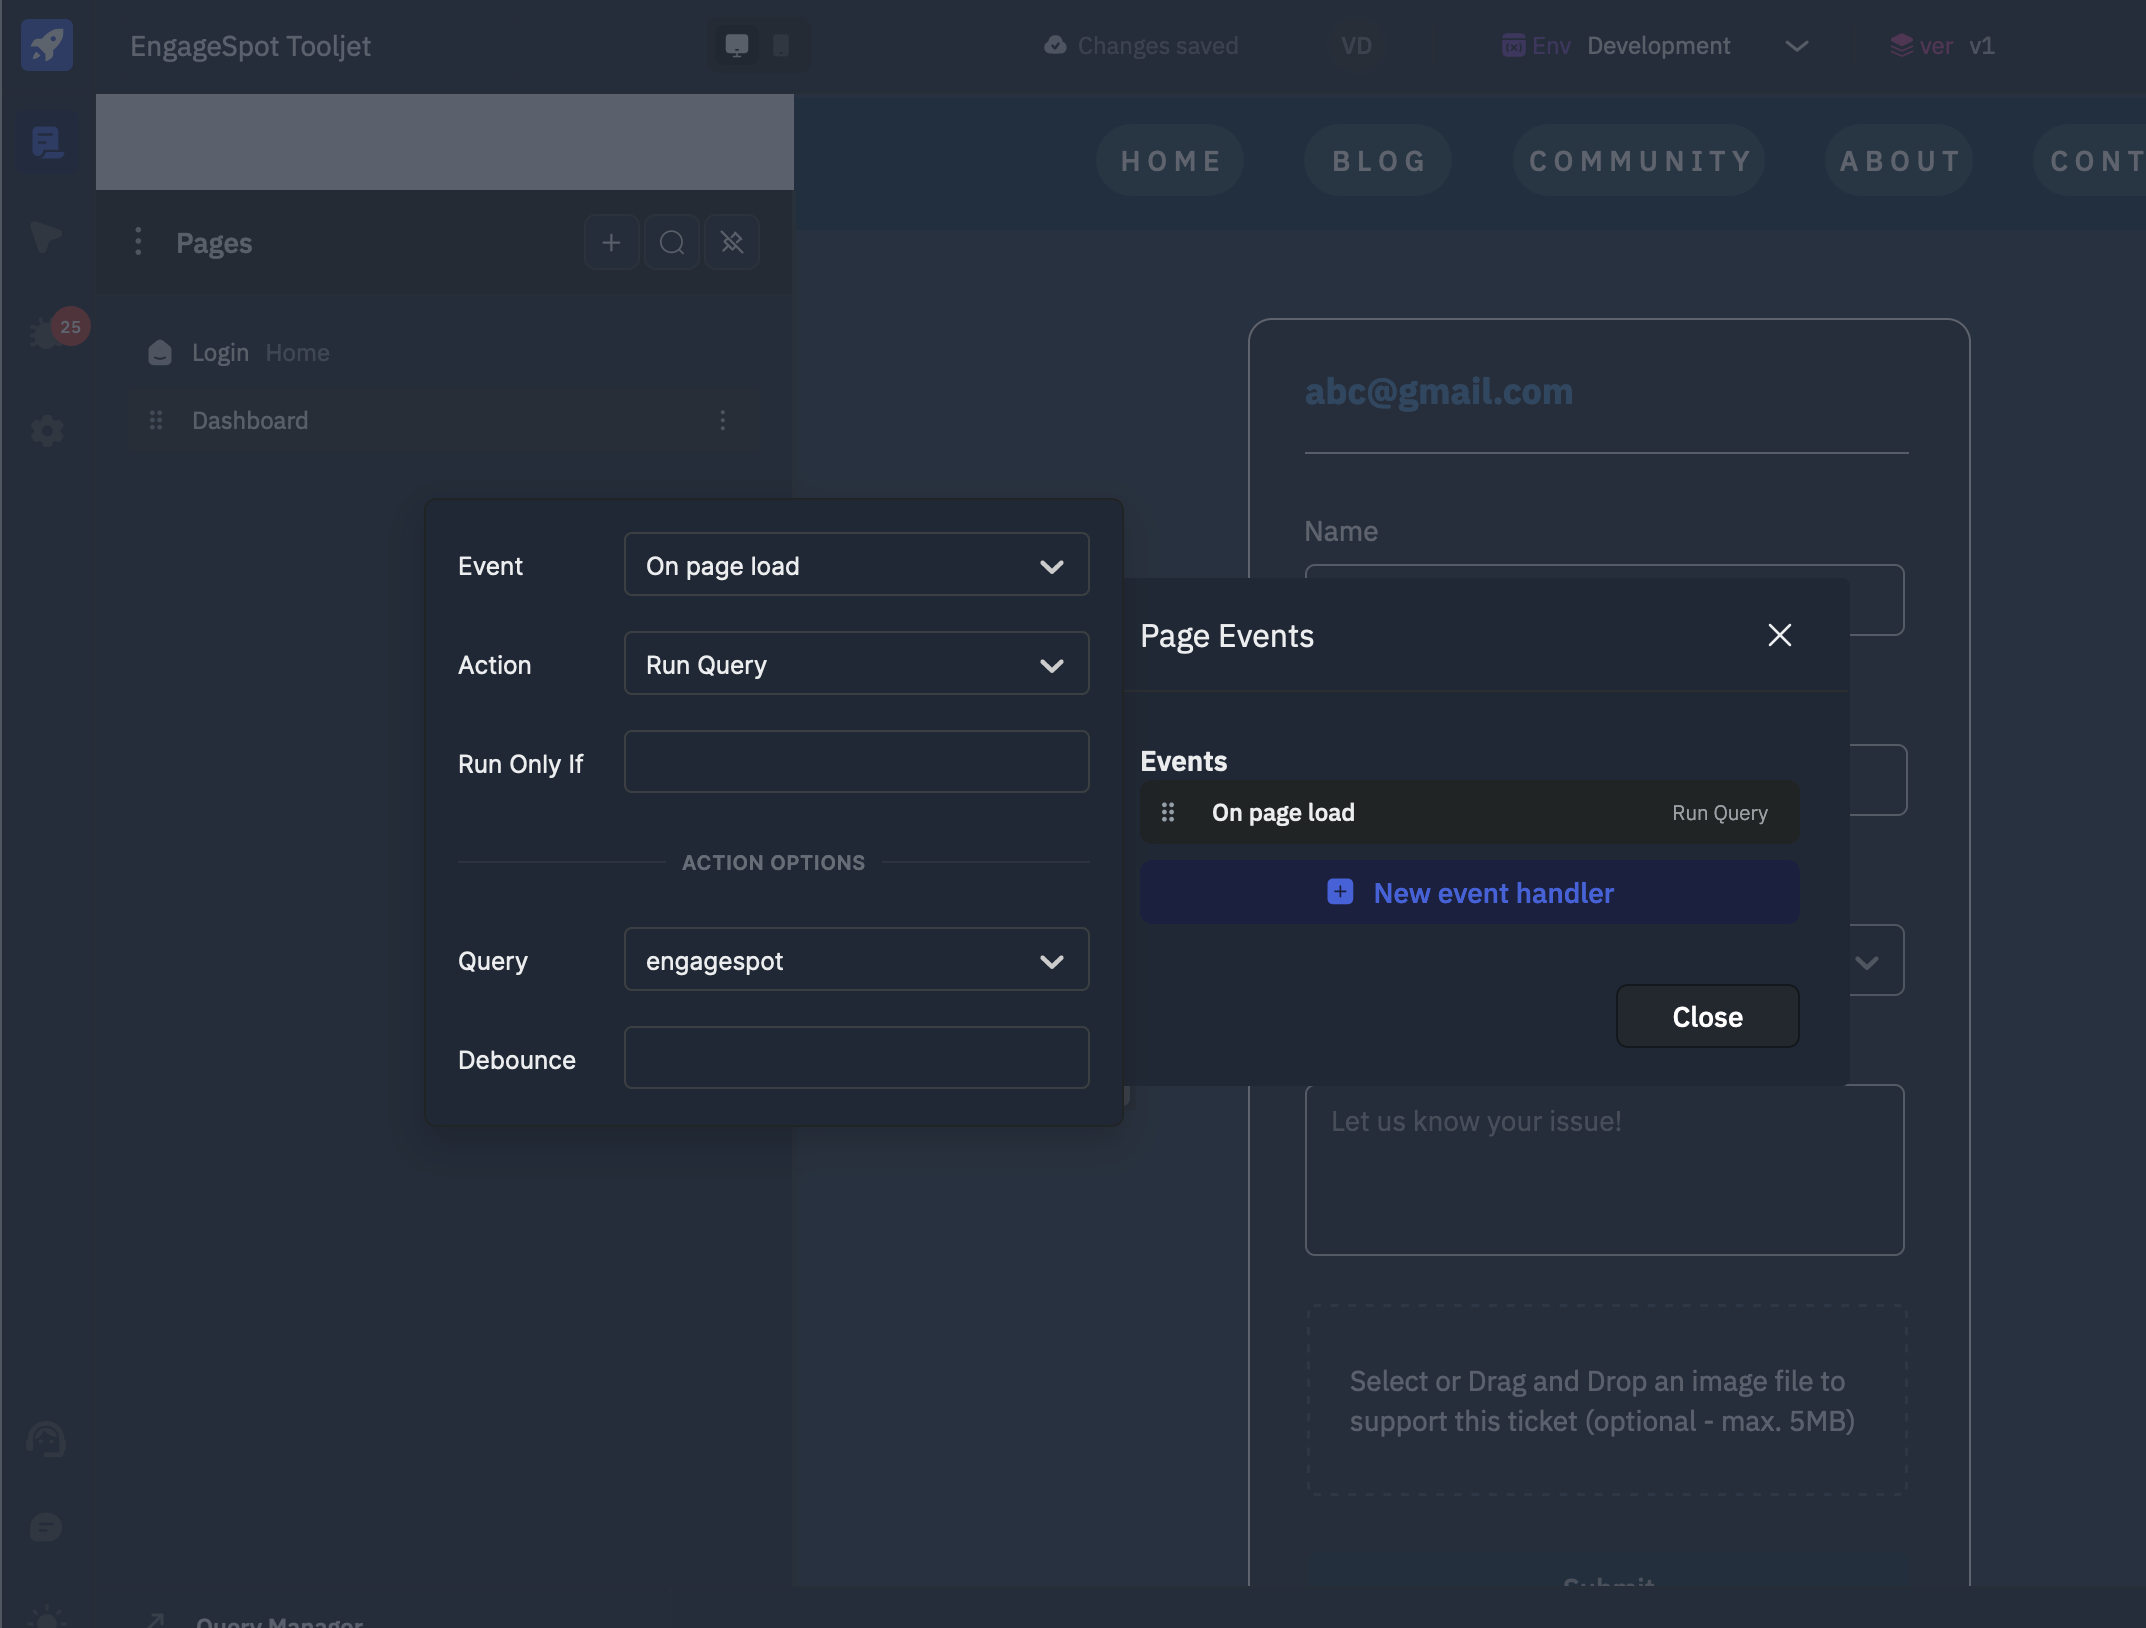
Clicking on the Event Handlers should open the Page Events popup.
Currently there should be no events. Click on the New event handler button to create a new On Page load event.
Click on the On page load event to open a new popup on the left for additional settings.
Select Run Query from the available datasources of Actions. This should change the action options and now you should have another select option called Query, to select from the queries we have created.
Select engagespot(the name which we gave to the js code) from Query.
This will ensure that when this page loads, it will inject the js code that we have written into the html.
Integration Sucessfull
After this step, if you preview your Tooljet app, you can see the notification bell icon, and the inbox properly working.
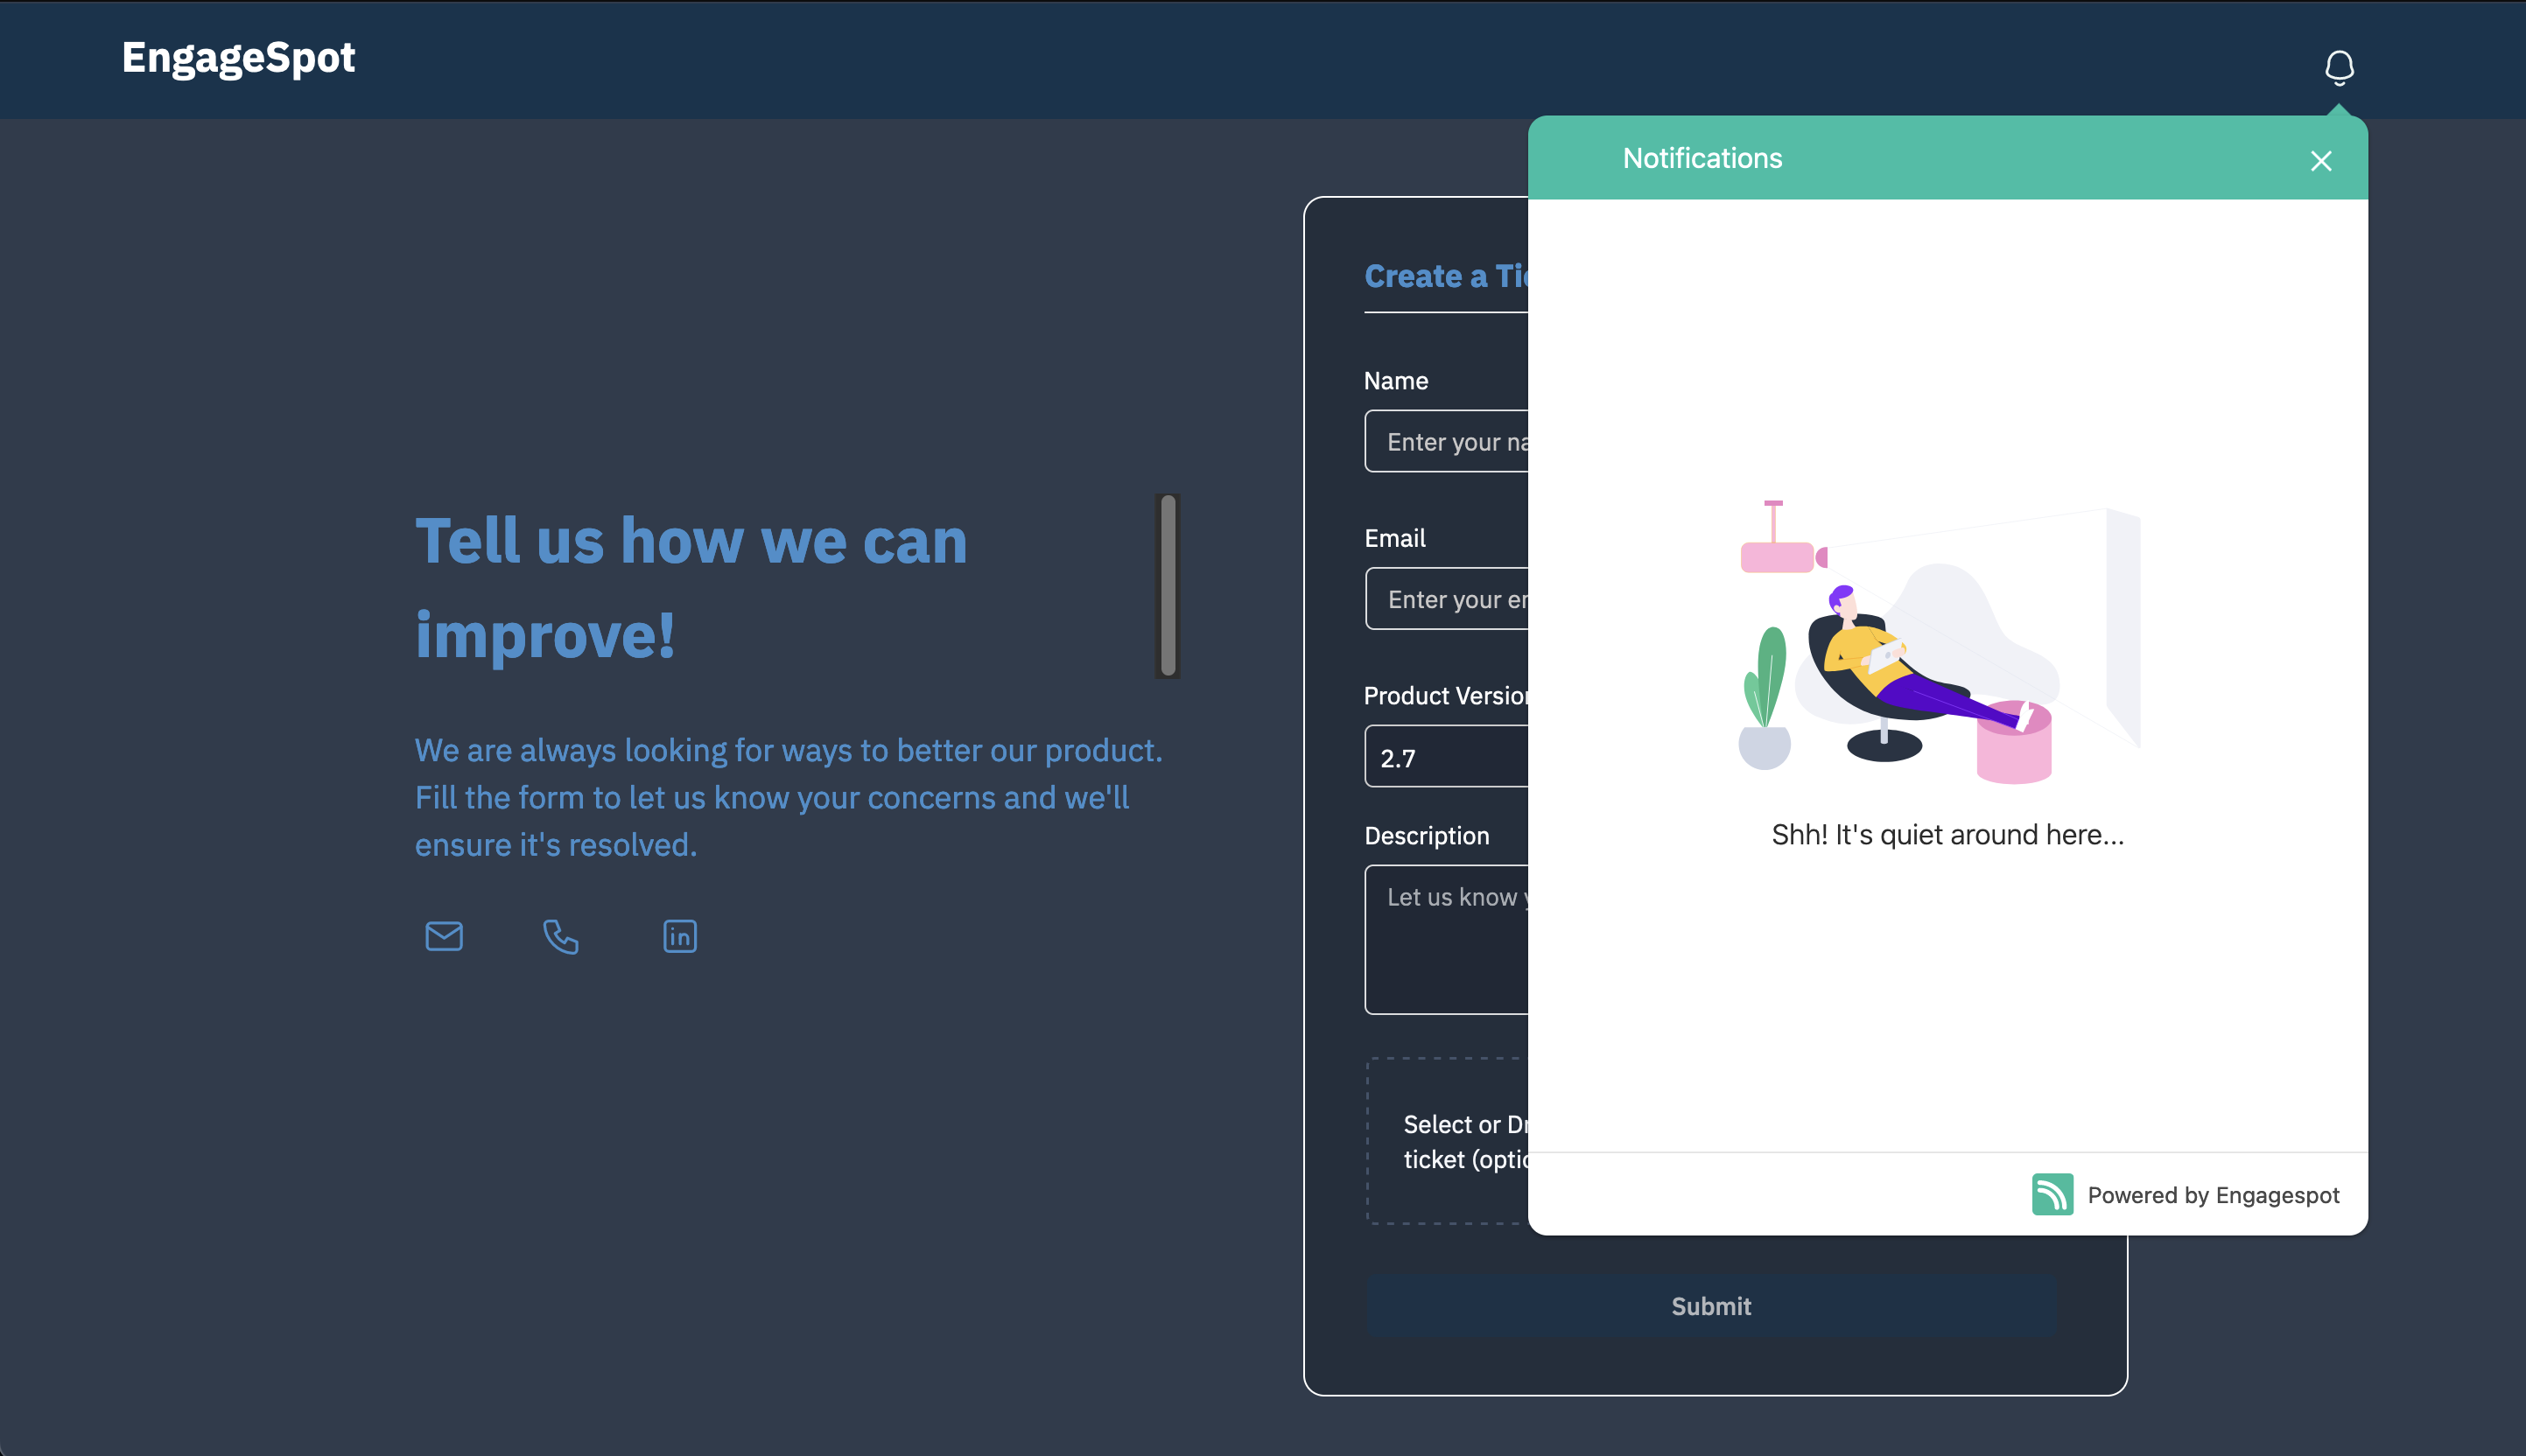
You've successfully integrated Engagespot to your Tooljet App.