Node
This is the official node.js library for communicating with Engagespot REST API. Send multi-channel notifications from your node app.
Installation
npm install @engagespot/node
Prerequisites
You need Engagespot API KEY and API SECRET from your dashboard to get started. If you don't have one, just get one for free.
Getting Started
import { EngagespotClient } from '@engagespot/node';

const client = EngagespotClient({
  apiKey: 'ENGAGESPOT_API_KEY',
  apiSecret: 'ENGAGESPOT_API_SECRET',
});

client.send({
  notification: {
    title: 'Agent X commented on your support ticket #T-793465',
    message: "Dear Customer, We're working on your ticket.",
    url: 'https://support.mydomain.com/tickets/793465',
    icon: 'https://cdn.support.mydomain.com/images/agent_x_profile.png',
  },
  recipients: ['customer@gmail.com'],
});
Refer Engagespot REST API Docs to get the list of all supported parameters.
Advanced Configurations
Methods and supported parameters.
import { EngagespotClient } from '@engagespot/node';

const client = EngagespotClient({
  apiKey: 'ENGAGESPOT_API_KEY',
  apiSecret: 'ENGAGESPOT_API_SECRET',
});

const params = {
  notification: {
    title: 'Agent X commented on your support ticket #T-793465',
    message: "Dear Customer, We're working on your ticket.",
    url: 'https://support.mydomain.com/tickets/793465',
    icon: 'https://cdn.support.mydomain.com/images/agent_x_profile.png',
  },
  recipients: ['customer@gmail.com'],
};

client.send(params);

//Creating or Updating a user
client.createOrUpdateUser('identifier', {
  optional: 'profile key value pair',
});
Create or Update User
import { EngagespotClient } from '@engagespot/node';

const client = EngagespotClient({
  apiKey: 'ENGAGESPOT_API_KEY',
  apiSecret: 'ENGAGESPOT_API_SECRET',
});

client.createOrUpdateUser('identifier', {
  optional: 'profile key value pair',
});
Create User Tokens
import { EngagespotClient } from '@engagespot/node';

const client = EngagespotClient({
  apiKey: 'ENGAGESPOT_API_KEY',
  apiSecret: 'ENGAGESPOT_API_SECRET',
  signingKey: 'YOUR_ENGAGESPOT_SIGNING_KEY',
});

client.generateUserToken('identifier');
NOTE : You must provide signingKey while initializing engagespot client to use generateUserToken function.
Creating Signing Key
You can generate your public-private signing key pair from Engagespot console, and this private key should be the secret signing key for generating user tokens
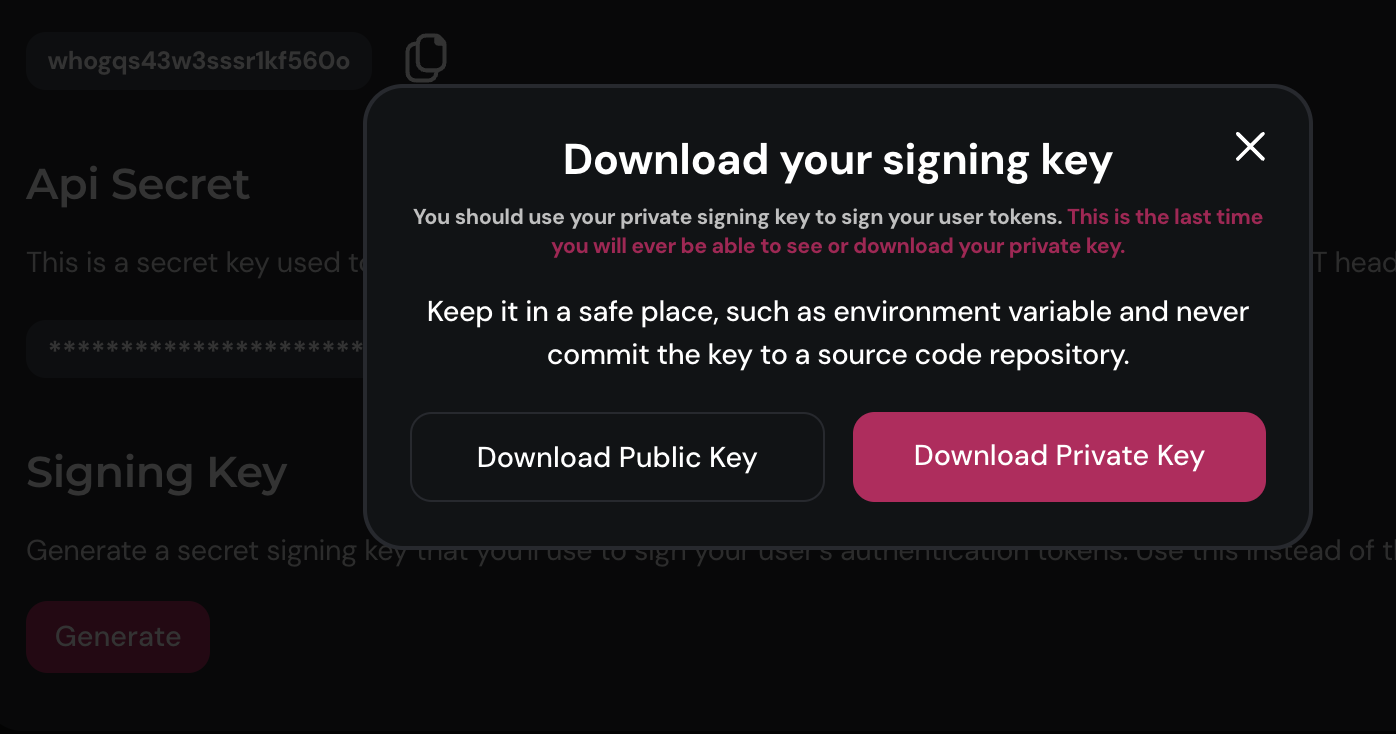
When you generate the signing key, Engagespot will store only the public key in our database. You should download the private key and use it for signing your user tokens. You won't be able to retrieve the private key after this step.
Managing In-App Inbox Notifications
In-app inbox notifications are messages that users can view within your application. Here's how you can manage them using the EngagespotClient:
1. Fetching In-App Notifications
You can fetch in-app notifications for a specific user. This retrieves a list of notifications from the in-app inbox.
client.inAppInbox
  .fetch('john_doe_123', 1, 10)
  .then(notifications => {
    console.log('Fetched notifications:', notifications);
  })
  .catch(error => {
    console.error('Error fetching notifications:', error);
  });
userIdentifier: The identifier of the user whose notifications you want to fetch.pageNo(optional): Page number of the notifications (default is 1).limit(optional): Maximum number of notifications per page (default is 10).
2. Marking a Notification as Read
You can mark a notification as read once the user has viewed it.
client.inAppInbox
  .markNotificationAsRead('notification_123')
  .then(response => {
    console.log('Notification marked as read:', response);
  })
  .catch(error => {
    console.error('Error marking notification as read:', error);
  });
notificationId: The ID of the notification to mark as read.
3. Marking a Notification as Unseen
You can mark a notification as unseen to indicate that it hasn't been viewed by the user yet.
client.inAppInbox
  .markNotificationAsUnseen('notification_123')
  .then(response => {
    console.log('Notification marked as unseen:', response);
  })
  .catch(error => {
    console.error('Error marking notification as unseen:', error);
  });
notificationId: The ID of the notification to mark as unseen.
4. Marking a Notification as Unread
You can mark a notification as unread if the user has viewed it but hasn't interacted with it in a meaningful way.
client.inAppInbox
  .markNotificationAsUnRead('notification_123')
  .then(response => {
    console.log('Notification marked as unread:', response);
  })
  .catch(error => {
    console.error('Error marking notification as unread:', error);
  });
notificationId: The ID of the notification to mark as unread.
5. Deleting a Notification
You can delete a notification from the in-app inbox if it's no longer relevant.
client.inAppInbox
  .deleteNotification('notification_123')
  .then(response => {
    console.log('Notification deleted successfully:', response);
  })
  .catch(error => {
    console.error('Error deleting notification:', error);
  });
notificationId: The ID of the notification to delete.
Managing Topics
1. Creating a New Topic
You can create a new topic.
client.topics
  .create('New Topic')
  .then(topicId => {
    console.log('New topic created with ID:', topicId);
  })
  .catch(error => {
    console.error('Error creating topic:', error);
  });
name: The name of the new topic.identifier(optional): The identifier of the topic. If not provided, it will be generated from the name.
2. Updating an Existing Topic
You can update the name of an existing topic.
client.topics
  .update(123, 'Updated Topic Name')
  .then(response => {
    console.log('Topic updated successfully:', response);
  })
  .catch(error => {
    console.error('Error updating topic:', error);
  });
topicId: The ID of the topic to update.name: The new name for the topic.
3. Deleting a Topic
You can delete a topic.
client.topics
  .delete(123)
  .then(response => {
    console.log('Topic deleted successfully:', response);
  })
  .catch(error => {
    console.error('Error deleting topic:', error);
  });
topicId: The ID of the topic to delete.
4. Subscribing Users to a Topic
You can subscribe users to a topic.
const usersToSubscribe = [
  { identifier: 'user1', channels: ['email', 'push'] },
  { identifier: 'user2', channels: ['push'] },
];

client.topics
  .subscribeUser(123, usersToSubscribe)
  .then(response => {
    console.log('Users subscribed successfully:', response);
  })
  .catch(error => {
    console.error('Error subscribing users to topic:', error);
  });
topicId: The ID of the topic to subscribe users to.users: An array of user objects to subscribe. Each user object should have an identifier and channels.
5. Unsubscribing Users from a Topic
You can unsubscribe users from a topic.
const usersToUnsubscribe = ['user1', 'user2'];

client.topics
  .unsubscribeUser(123, usersToUnsubscribe)
  .then(response => {
    console.log('Users unsubscribed successfully:', response);
  })
  .catch(error => {
    console.error('Error unsubscribing users from topic:', error);
  });
topicId: The ID of the topic to unsubscribe users from.users: An array of user identifiers to unsubscribe.
6. Updating Notification Channels for a User in a Topic
You can update notification channels for a user in a topic.
client.topics
  .updateChannel('user1', 123, ['email', 'push'])
  .then(response => {
    console.log('Notification channels updated successfully:', response);
  })
  .catch(error => {
    console.error(
      'Error updating notification channels for user in topic:',
      error,
    );
  });
identifier: The identifier of the user whose channels are to be updated.topicId: The ID of the topic.channels: An array of notification channels for the user.
7. Listing Subscriptions of a User to All Topics
You can list subscriptions of a user to all topics.
client.topics
  .listSubscriptionsOfUser('user1')
  .then(subscriptions => {
    console.log('User subscriptions:', subscriptions);
  })
  .catch(error => {
    console.error('Error listing user subscriptions:', error);
  });
identifier: The identifier of the user.